Installing solar panels is one of the most practical ways to cut electricity bills and make better use of renewable energy at home. But before getting started, many homeowners want to understand exactly how solar panel installation works and what the process involves from start to finish. At Solar Prime Energy, we know that solar can feel like a big step at first. That is why this guide walks through the process in simple stages, so you know what to expect at each point. From the first survey to final connection, here is a clear look at the solar installation process in the UK.
Why are More Homeowners Switching to Solar?
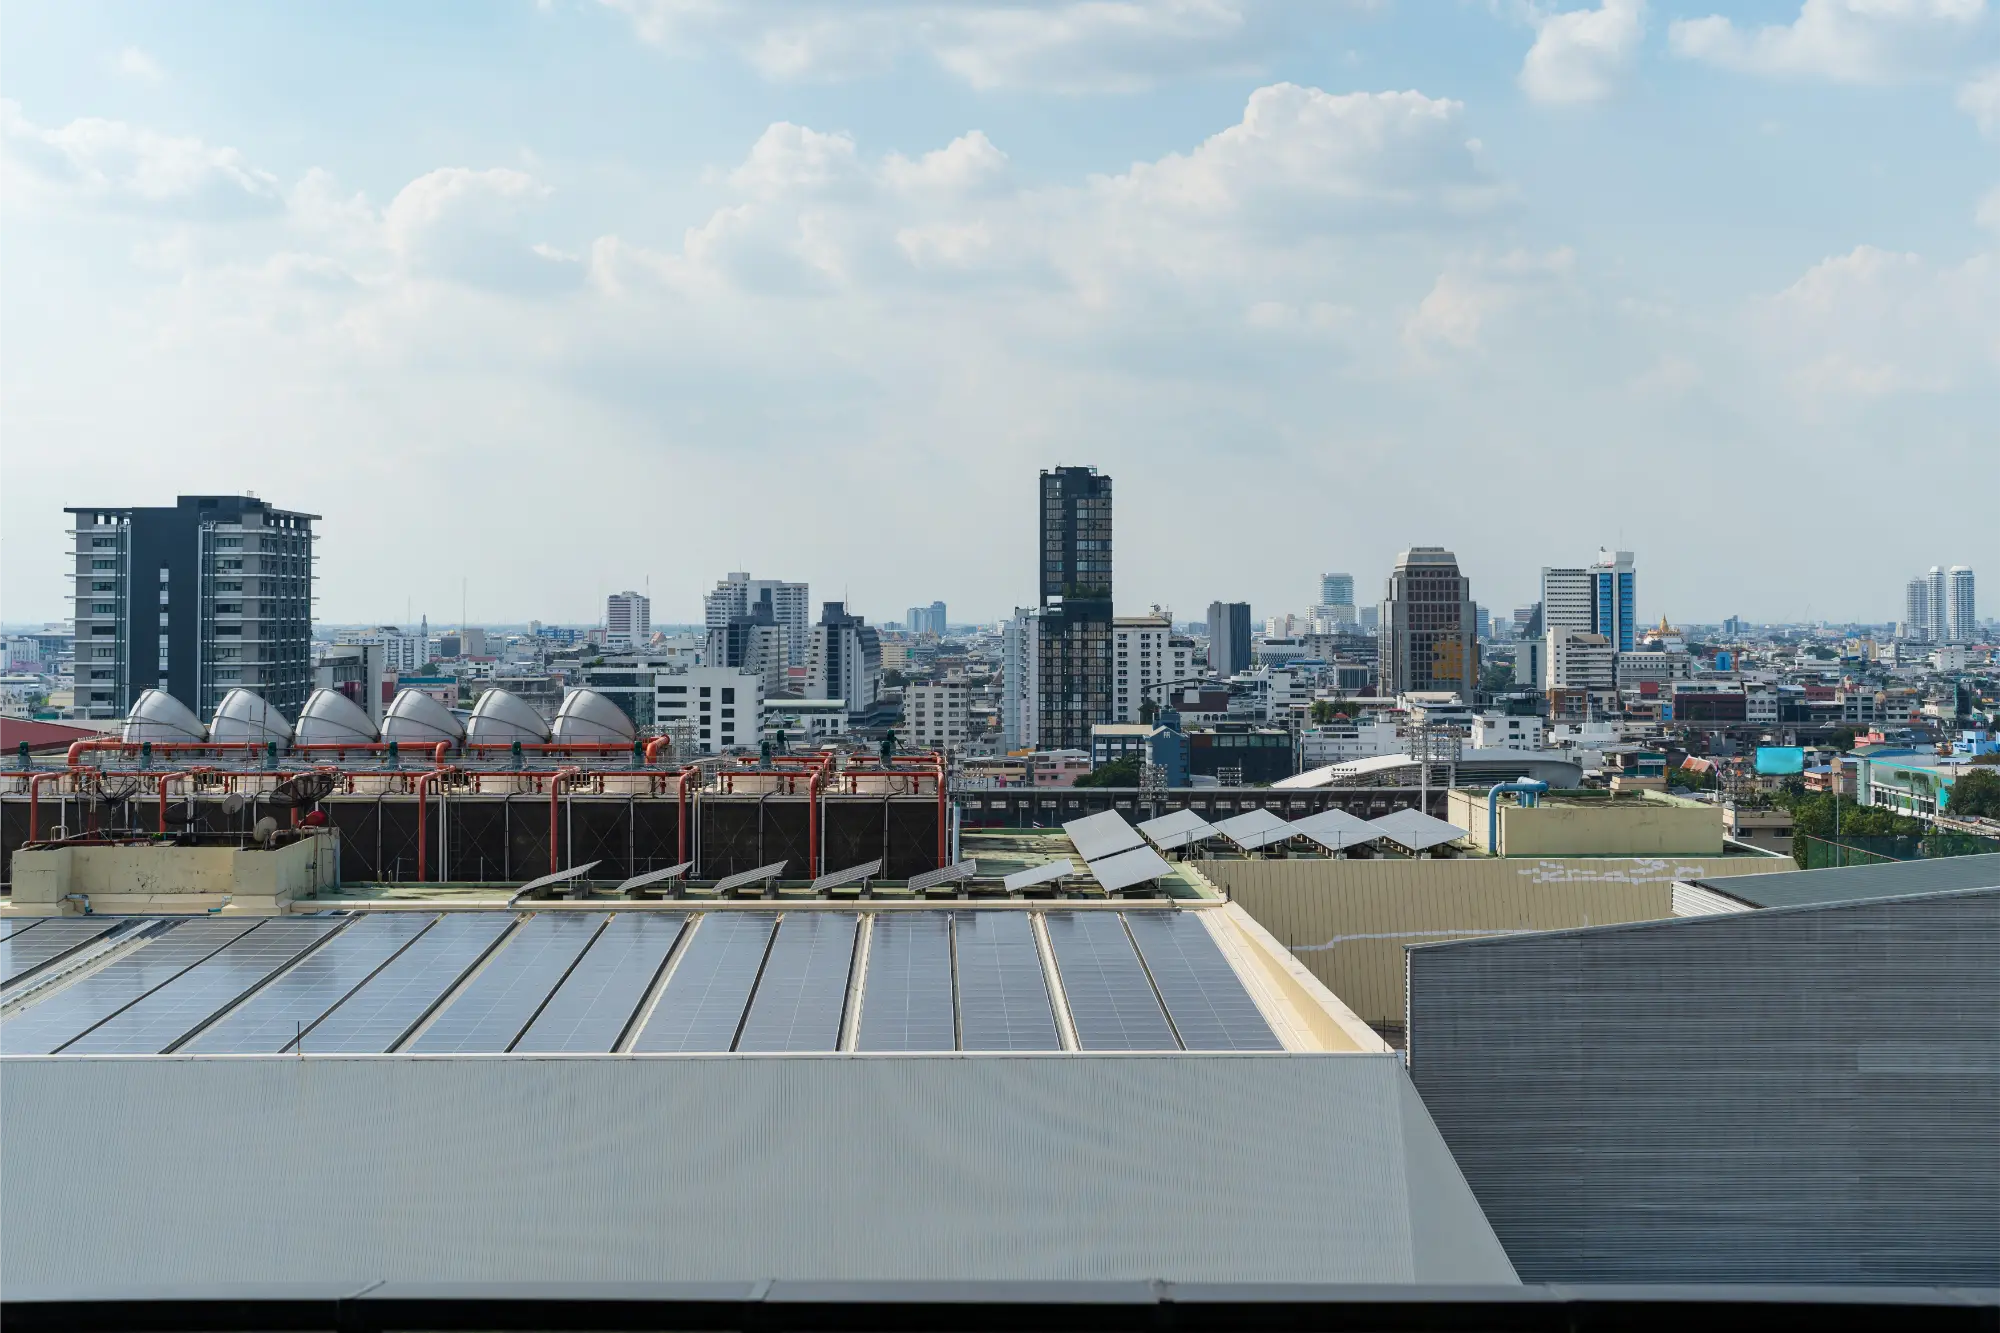
With energy costs staying high and more households looking for long-term savings, solar has become a smart option for many UK properties. Modern systems are more efficient than ever, and homeowners are increasingly interested in reducing dependence on grid electricity.
Still, making the decision is easier when the process feels clear. A strong solar panel installation guide in the UK should help homeowners understand the steps, the likely timeline, and the practical considerations before work begins.
Step 1: Checking if the Property Is Suitable
The first stage is to assess whether your home is suitable for solar. Not every roof performs in the same way, so this part is important.
We usually look at:
- Roof size and layout
- Roof direction and pitch
- Shading from trees or nearby buildings
- Condition of the roof
- Household electricity usage
- Available space for an inverter or battery
South-facing roofs are often ideal, but east- and west-facing roofs can also work well depending on energy use and system design. The goal at this point is to understand how much solar your property can support and how efficiently the system is likely to perform.
Step 2: System Design and Quote
Once the property has been assessed, the next part of the solar installation process is the system design. This is where the installer recommends the number of panels, the system size, and whether extras such as battery storage should be included.
A clear quote should set out:
- The proposed system size
- Estimated energy generation
- Equipment included
- Installation cost
- Warranties
- Expected savings
- Likely payback period
This stage matters because it gives you a realistic picture of what you are getting. It is also where homeowners begin to see how the technical side translates into practical household benefits.
Step 3: Permissions and Compliance Checks
For many homes, solar panels can be installed under permitted development rights, so full planning permission is often not needed. However, there are exceptions.
Extra checks may be required if the property is:
- Listed
- In a conservation area
- A flat or maisonette
- Structurally unusual
Depending on the size of the system, the installer may also need to notify the local distribution network operator. This part may not be the most visible step, but it is an important one. It ensures the system is safe, compliant, and ready for grid connection.
When homeowners ask us how solar panel installation works, this is often the stage they do not realise happens behind the scenes.
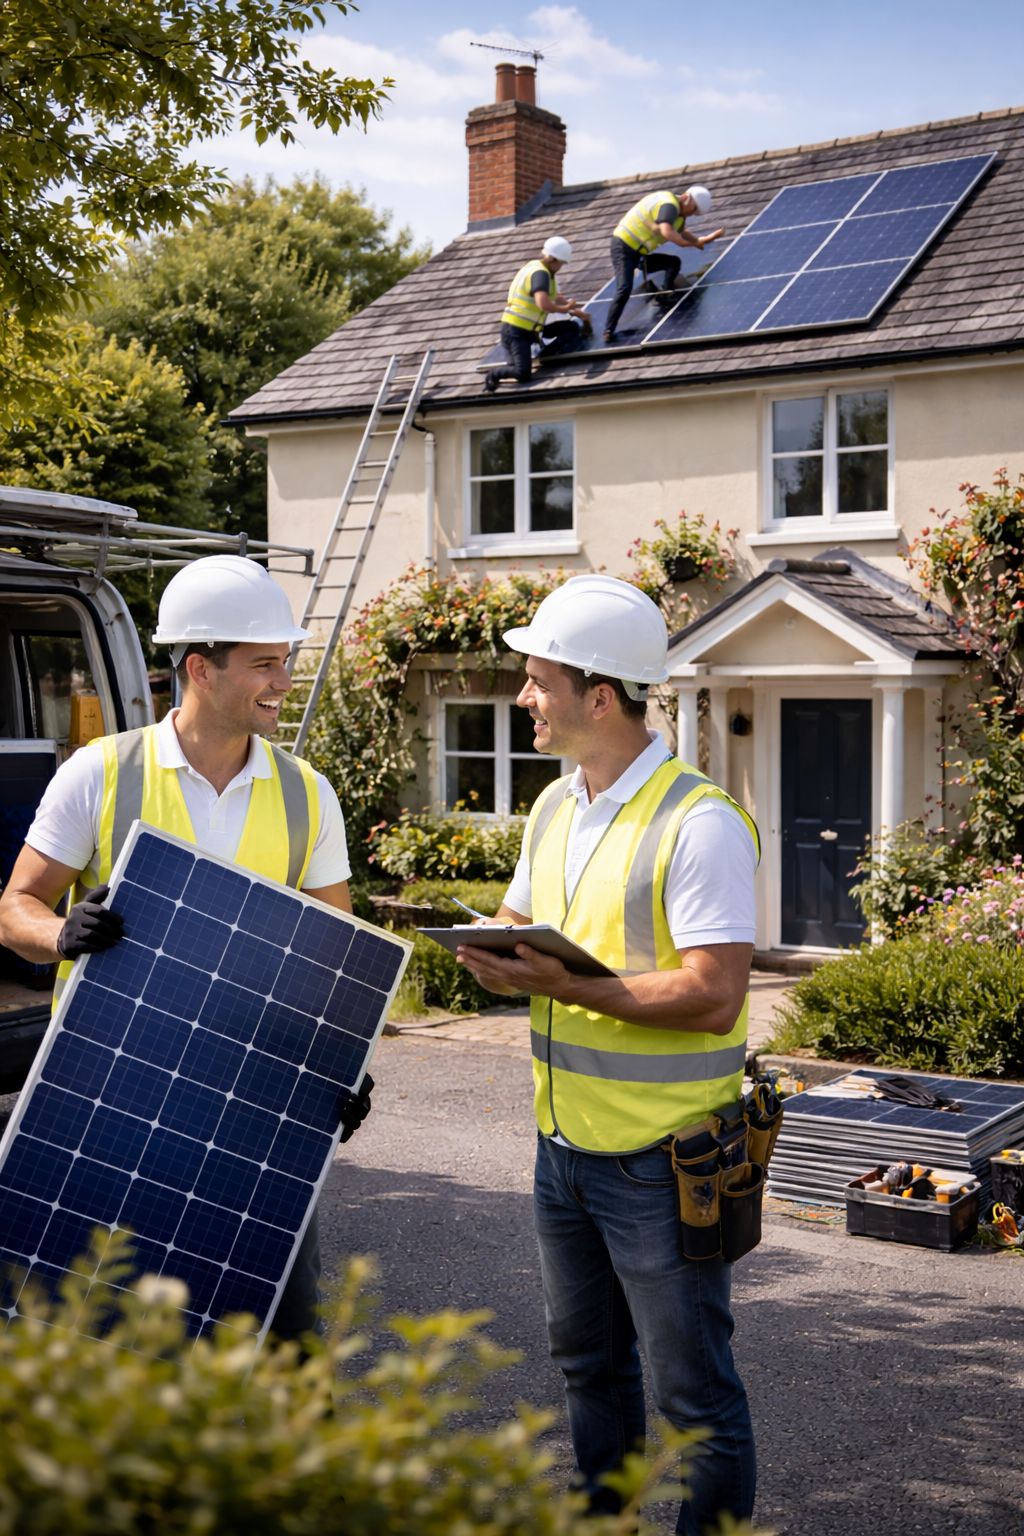
Step 4: Preparing for Installation Day
Before the panels go onto the roof, the site needs to be prepared. In many cases, scaffolding is installed first to give the team safe access.
Preparation may include:
- Confirming the final panel layout
- Checking roof fixings
- Planning cable routes
- Preparing the inverter location
- Reviewing the connection to the consumer unit
This stage is usually quick, but it keeps the installation organised and helps avoid issues once the main work begins.
Step 5: Installing the Mounting System
One of the core solar panel installation steps is fitting the roof mounting system. These brackets and rails form the base that holds the panels in place.
The mounting method depends on the roof type, whether that is tile, slate, or another material. The work must be done carefully so the roof remains secure and weatherproof while still supporting the full system.
This part of the solar panel installation guide is especially important because good installation standards affect both performance and durability over time.
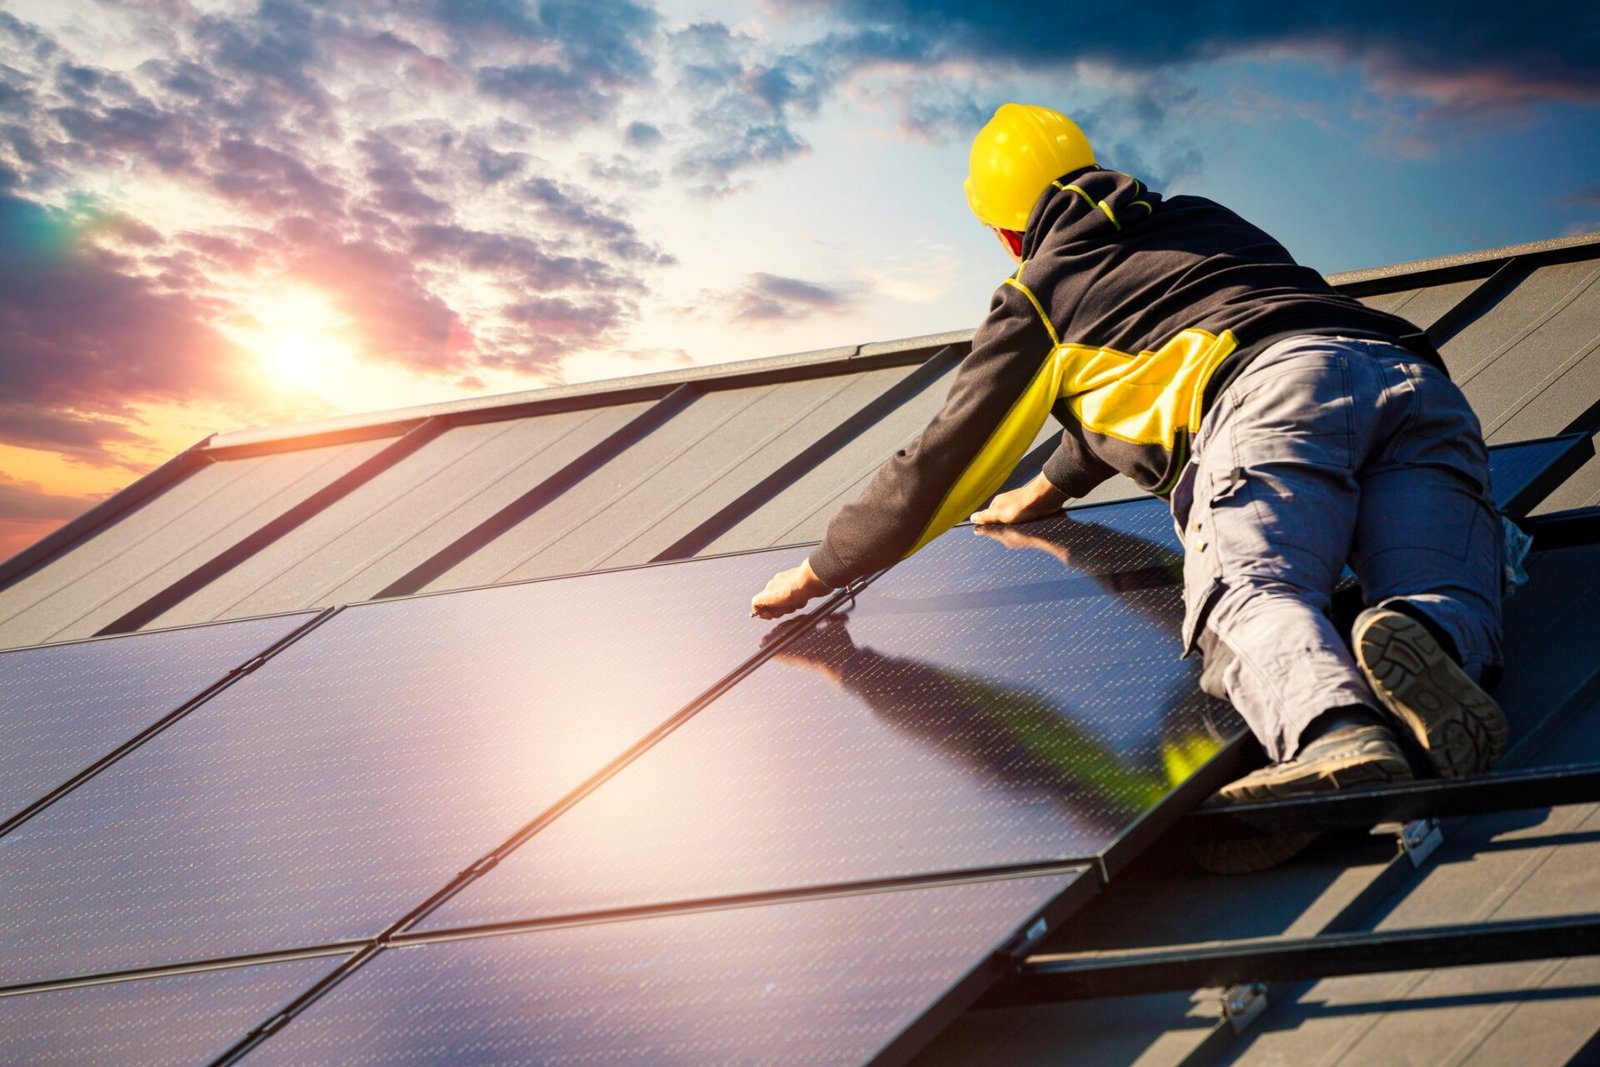
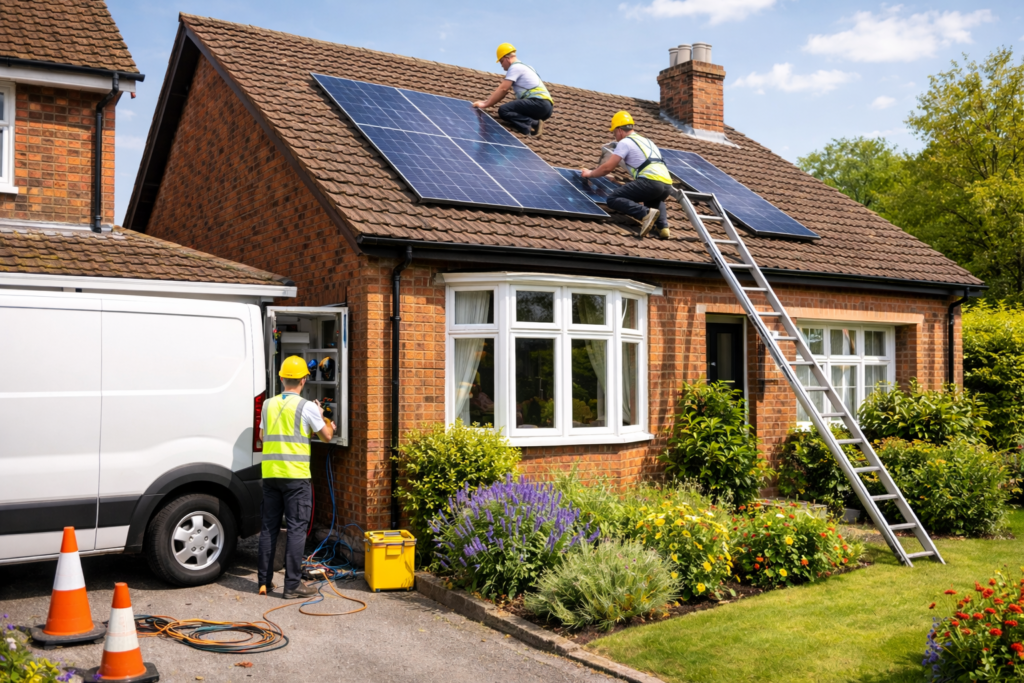
Step 6: Fitting the Solar Panels
Once the mounting system is in place, the solar panels are fixed onto the rails and secured. They are then connected together using electrical cabling.
This is the stage where the system starts to take shape visually. For many homeowners, it is the first point where the project feels real.
The number of panels installed depends on the design agreed earlier. Some households want to offset a portion of their daytime electricity use, while others want a larger setup that works with battery storage as well. Either way, these solar panel installation steps are usually completed fairly quickly on a standard residential property.
Step 7: Inverter and Electrical Work
Solar panels generate direct current, but homes use alternating current. That is why the inverter is such an important part of the system. It converts the electricity into a usable form for the home.
At this stage, the installer will fit the inverter in a suitable location, often in a loft, garage, or utility area. If the system includes a battery, this is usually installed at the same time.
The electrical work may include:
- Connecting panels to the inverter
- Linking the inverter to the consumer unit
- Installing monitoring equipment
- Setting up battery storage
- Testing the full system
This is one of the most technical parts of how solar panel installation works, and it must be completed by qualified professionals.
Step 8: Testing and Certification
Before the system is handed over, everything is tested to make sure it is operating safely and correctly. This includes both the electrical setup and the performance of the equipment installed.
Homeowners should then receive key documents such as the following:
- Electrical certificates
- Product warranties
- Installation records
- Performance details
- Relevant compliance paperwork
This stage confirms that the job has been completed properly and gives you the paperwork needed for future reference.
Step 9: Handover and Monitoring
The final part of the solar installation process is the handover. This is when the installer explains how the system works, how to monitor it, and what to expect across different seasons.
Many systems now include monitoring apps, which let homeowners track generation and usage in real time. That makes it easier to spot trends and understand how the system is performing day to day.
At Solar Prime Energy, we believe this step matters just as much as the installation itself. A homeowner should not only have a working system but also the confidence to use it properly.
What Is the Solar Energy Installation Timeline in the UK?
The solar energy installation timeline can vary depending on the property, the system size, installer availability, and whether permissions are needed. That said, the physical installation on most homes is often completed within one to two days.
The full journey, including survey, design, approvals, scheduling, installation, and sign-off, may take a few weeks from start to finish.
It helps to think of the solar energy installation timeline as a short project with several stages rather than a single installation day.
Understanding how solar panel installation works in the UK makes the process easier to navigate and far less overwhelming. From the initial survey to final testing, each step plays a role in making sure the system is safe, effective, and suited to the property.
With the right installer and a clear plan, the process becomes much more straightforward. For homeowners exploring solar for the first time, knowing the solar panel installation steps in advance can make the decision feel far more practical and informed.
Thinking about making the switch to solar? Contact Solar Prime Energy today for expert advice, clear recommendations, and support at every stage of the installation journey. We are here to help you find the right solar solution for your home.